Room by Room Tips

Kitchen

Preparation: Clean and Declutter

  • Clean thoroughly - Sweep and mop. Wipe down countertops, island, sink, and backsplash.
  • Remove Small Appliances - Clear away toasters, blenders, etc. Neat and modern microwave, coffee maker, and knife block can remain.
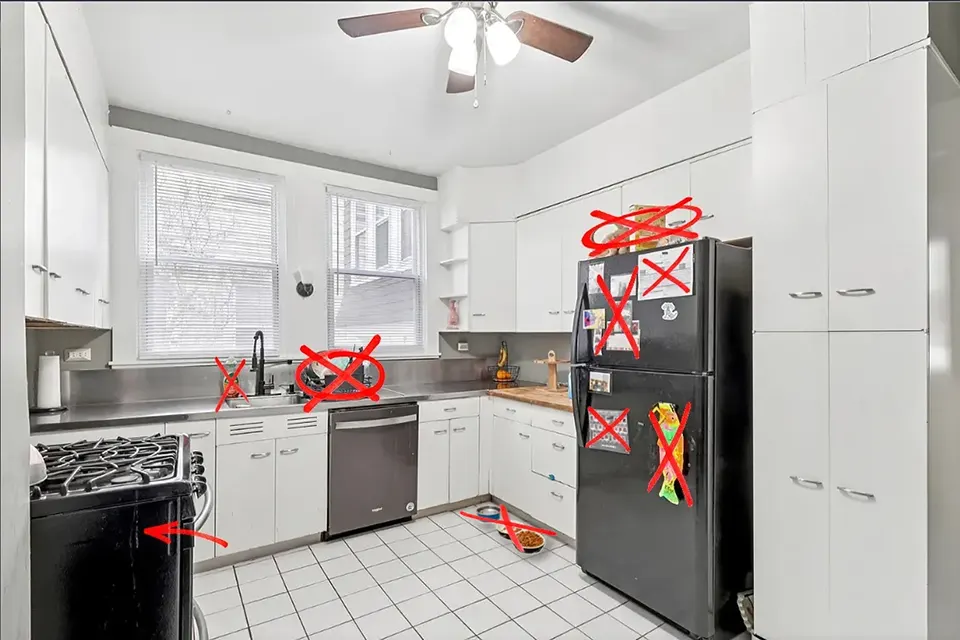
  • Clear Personal Items - Remove magnets, calendars, photos, papers, and bulletin boards from the refrigerator and walls.
  • Straighten Fixtures - Align the faucet, straighten lighting, etc.
  • Remove Soft Goods and Pet Items - Take away towels, oven mitts, floor mats, and pet bowls.
  • No Garbage Can - Whatever you do, always move the garbage can before taking photos!
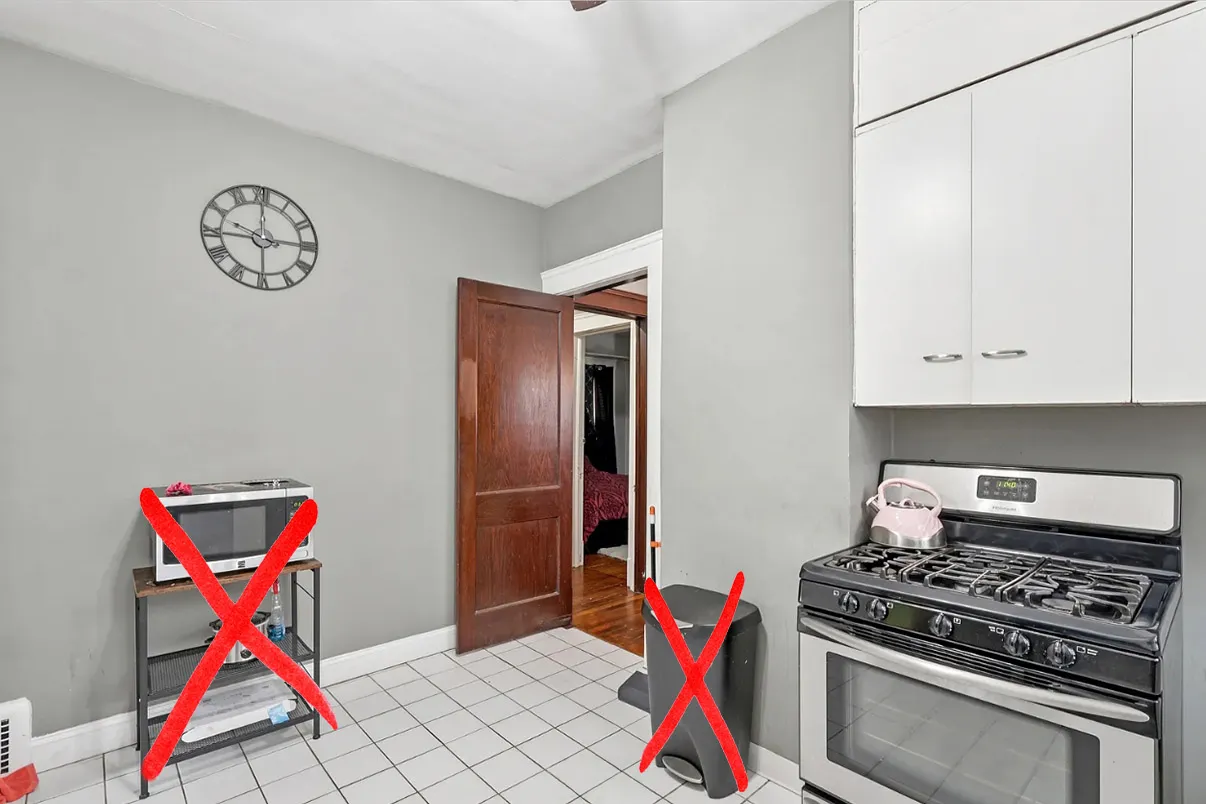
garbage can next to kitchen oven
various items on refridgerator
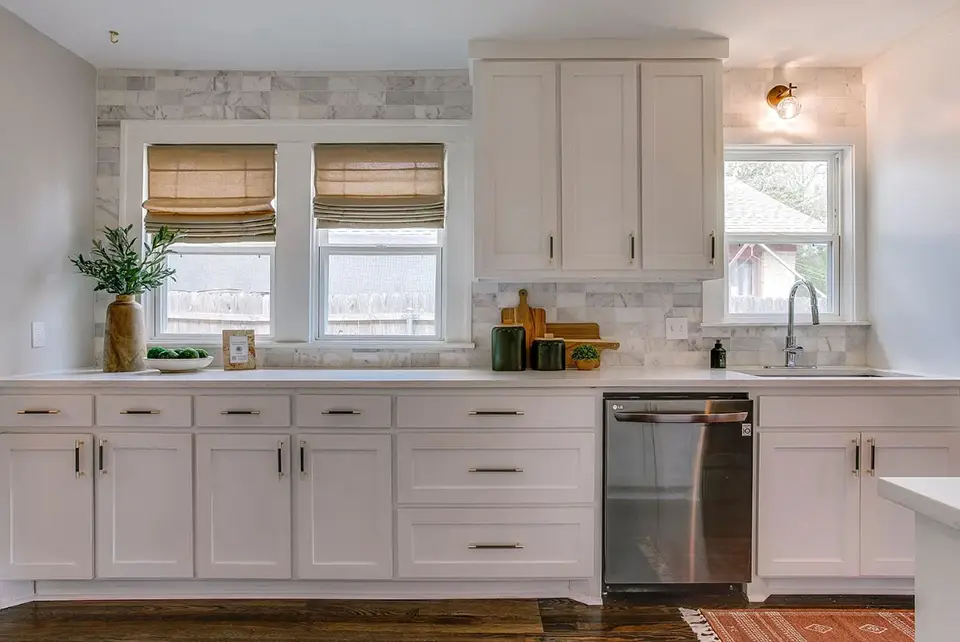
straight-on photo of kitchen

Photography Tips

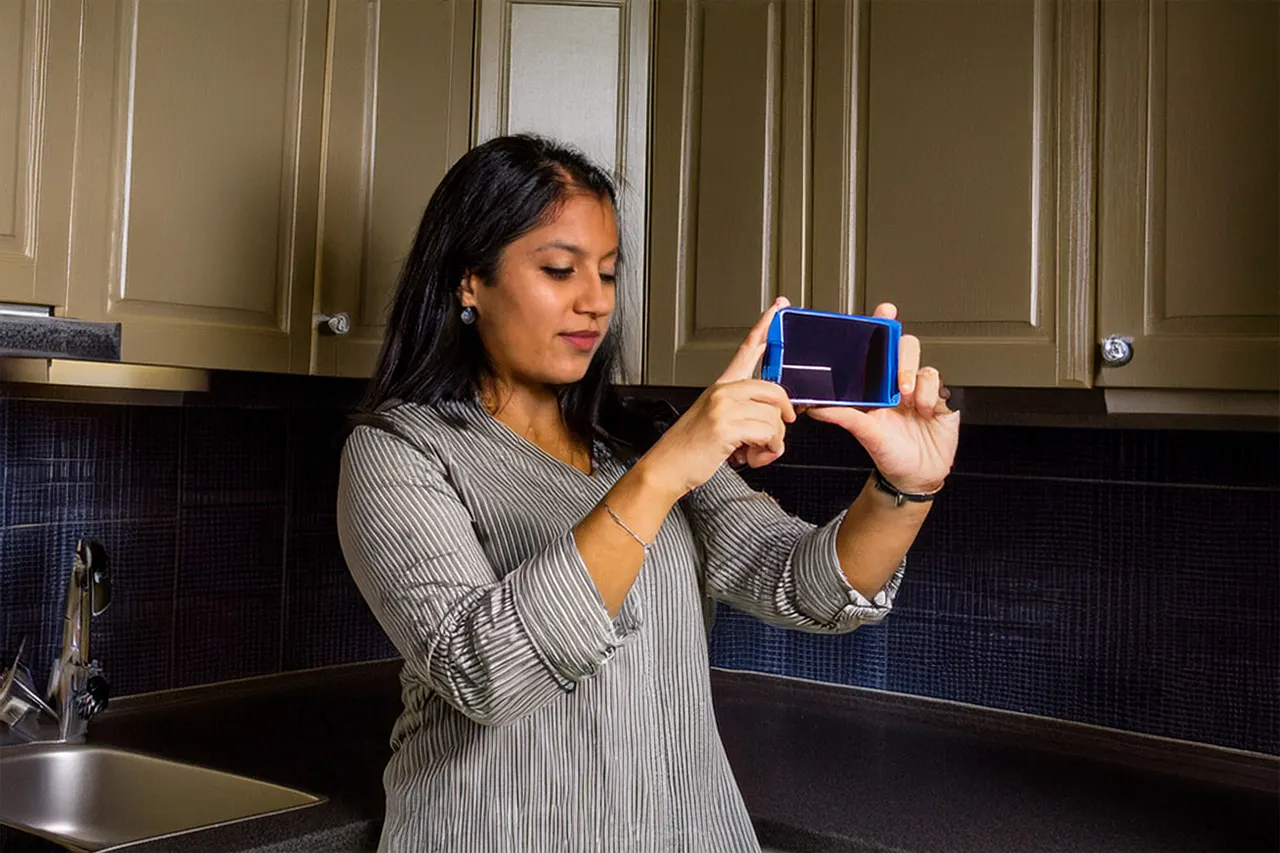
  • Camera Height - Camera height should very specifically be even with the bottom of the upper cabinets. The underside of cabinets is unflattering so this specific level will give your best shots.
  • Avoid Cabinet Sides - Choose angles that highlight the front of cabinets more than the side.
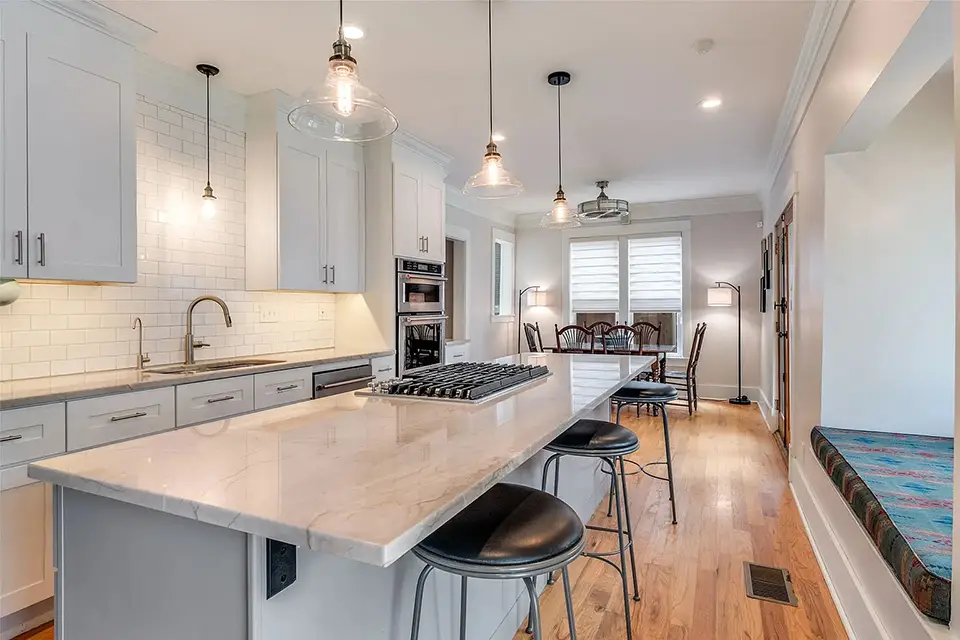
  • Include Leading Edge - Never shoot from directly over the top of counters or islands. Instead, move back enough to capture the leading edge of the countertop to offer proper depth context.

Following these steps will help your kitchen images look clean, spacious, and highly functional
Back to rooms

woman taking kitchen photos
professional photo of kitchen area
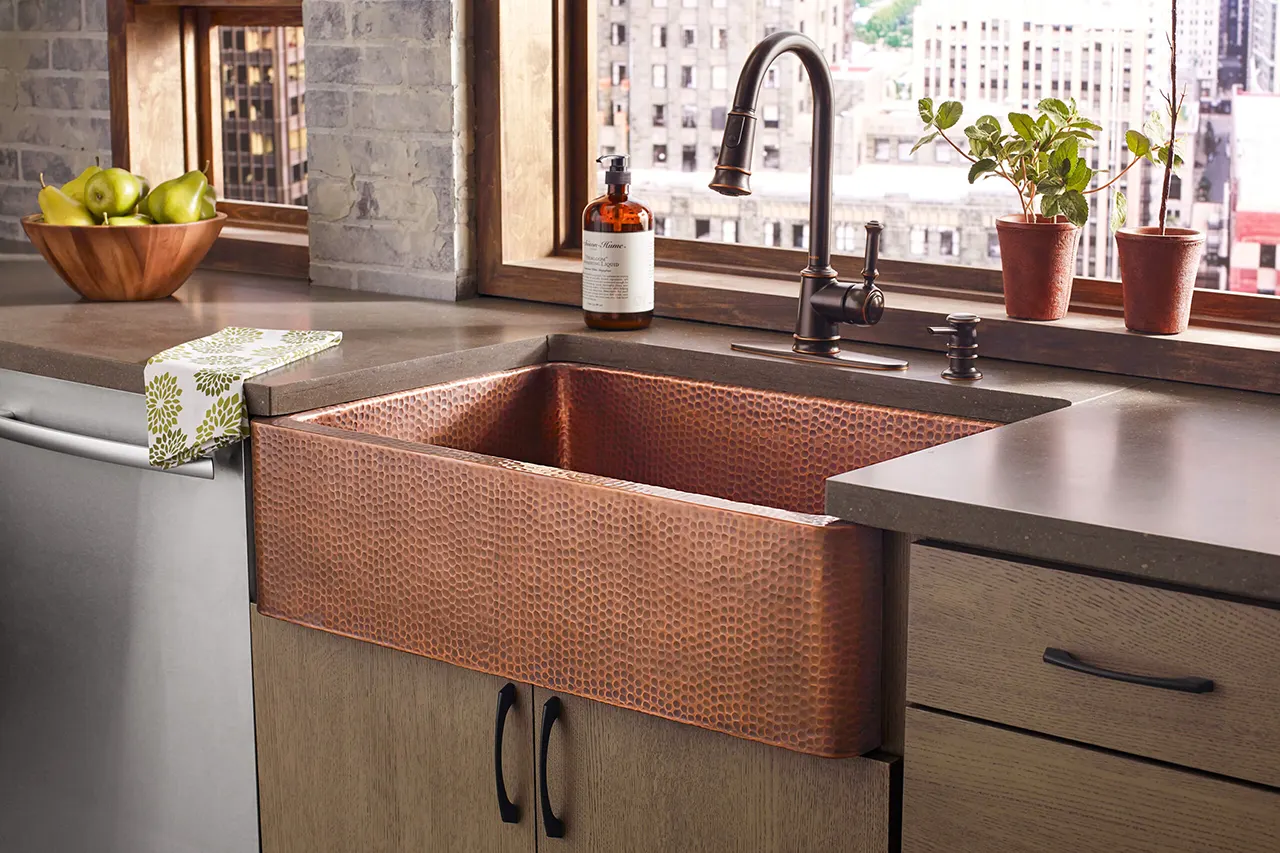
image of farmhouse sink

Room by Room Tips

Family Room

Preparation: Clean and Declutter

  • Remove Personal Items - Take down family photos. Remove kids toys, mail, magazines, remote controls, and religious items.
  • Table Surfaces - Minimal decor only. Max two items per table such as a plant, book, or decorative bowl.
  • Fluff and Arrange - Fluff pillows, straighten furniture, and arrange seating to create open pathways and natural conversation areas.
  • Edit for Space - Remove excess furniture such as tables, lamps, or chairs if the room appears crowded.
  • Open Interior Doors - Leave door in mostly open positions to highlight flow and connection between spaces.

Photography Tips

  • Common Angles - Corner-to-Corner and Straight-on Wall views typically work great in family rooms. Try to capture as many windows as possible in each composition. Aim down the walking path into the space while remembering to follow the 3-Wall Rule.
  • Fireplace Detail - A straight-on shot of the fireplace using 1x instead of wide-angle mode will create a great feature shot.
  • Avoid Backsides - Try not to shoot the backside of a couch or lounge chair. The shot can only be saved if other items such as a table or lamp are partially obstructing the backside view.

These simple guidelines will make your common spaces feel spacious and welcoming

Back to rooms

Room by Room Tips

Dining Area

Preparation: Clean and Declutter

  • Remove Personal Items - Clear any excess decor, family photos, and added clutter.
  • Position Table - Ensure open walking space all around the table, make certain it is centered under the light fixture. Arrange all the chair accordingly.
  • Remove Extra Furniture - Take out any small pieces that make the room feel cluttered.
  • Minimal Table Staging - Use a simple, elegant centerpiece such as a vase with fresh flowers. Only add table settings to very large tables.

Photography Tips

  • Corner View - Corner-to-Corner shots should include maximum window views.
  • Stright-On View - Straight-on views always showing the long side of the table. Also maximize window views.
  • Create Flow - Find an angle that shows how the dining area connects to other rooms.

Following these tricks will make your dining room images elegant and highly appealing

Back to rooms

Room by Room Tips

Open Floorplan

Photography Tips

  • Far Corners - Shoot wide establishing shots from one corner of the room to the other demonstrating the connected spaces.
  • Leading Lines - Focus down walkways from one area into the next, such as kitchen looking into family room.
  • Individual Rooms - In addition to the open floor shots still add images of each room individually per (Kitchen, Family Room, Dining Area) tips.

These techniques will properly highlight the spaciousness and versatility of the open floor plan

Back to rooms

Room by Room Tips

Bedroom

Preparation: Clean and Declutter

  • Remove Personal Items - Clear out family photos, medications, clothing, toys, books, and religious objects.
  • Minimal Nightstands - Keep only 1-2 items per nightstand. Such as a lamp, book, or small plant.
  • Perfectly Made Bed - Use crisp, neutral-colored linens (white, beige, or soft gray). Fluff all pillows.
  • Limit Accents - Limit stacking pillows to one pillow and one or two accents per side. Minimize or eliminate footer accents.

Photography Tips

  • Corner View - Corner-to-Corner shots can mean shooting from the doorway or inside a bathroom or closet.
  • Stright-On View - Shooting perpendicular to the headboard is preferred. Straight-on the side of the bed is a much less desirable angle.
  • Use Doorways - Leave bathroom and walk-in closet doors open. Capture angles that highlight these added features.

These easy steps will help you create serene and inviting bedroom images

Back to rooms

Room by Room Tips

Bathroom

Preparation: Clean and Declutter

  • Clear All Surfaces - Remove toothbrushes, toothpaste, makeup, hair products, medications, razors, and everything else from sinks, counters, and tubs.
  • Remove Items from Floor - Take garbage basket, toilet brush, plunger, and other loose items out before shooting.
  • Open Shower - Open one end of the shower curtain or glass door to view the shower head. Open slightly to mostly, depending on whether the shower is flattering or not.
  • Lower the Toilet Lid - Add a fresh toilet paper roll if visible, and whatever you do, do not forget to close the toilet lid!

Photography Tips

  • Stay in Landscape Orientation - In small rooms it is very tempting to shoot upright. Don't do it!
  • Step Back - Shoot from as far into the corner or doorway as you can possibly get. Try to get the vanity and shower/tube in one shot.
  • Use the Mirror - Carefully angle your shot where the mirror reflection shows more of the room. Find angles where the toilet or shower can be seen in the reflection.
  • Split View Technique - Frame a shot from inside or outside the bathroom that contains the bathroom on one half and the adjacent room on the other half.

These tips will help create clean, bright, and spacious images

Back to rooms

Room by Room Tips

Foyer

Preparation: Clean and Declutter

  • Remove Personal Items - Clear shoes, coats, backpacks, umbrellas, pet items, and mail from the foyer area.
  • Straighten Door Mat - Don't take photos with a crooked mat or entry rug.
  • Show Closet - Only if the coat closet is neat and organized, open door slightly to showcase storage.
  • Move Vehicles - Make certain driveway vehicles are not visible through foyer windows.

Photography Tips

  • Full Entrance Area - Step back to show full entrance area. This can include a hallway or staircase in a Split View image.
  • Door Open - Optional: open front door to showcase the entrance. Only do this if an uncluttered background without parked cars or adjacent houses.
  • Outside In - Consider views from the doorway or slightly outside looking into the home, showing off the front hallway, staircase, or views into other rooms.

A well-presented foyer helps create a strong, positive first impression

Back to rooms

Room by Room Tips

Outdoor

Preparation: Clean and Declutter

  • Move Vehicles - Move all vehicles, boats, or campers away from the driveway or yard. Close garage doors and move garbage cans.
  • Manicured Lawn - Freshly cut lawn and bushes. Sweep decks and patios, straighten lawn furniture.
  • Dusk Photo - If attempting a dusk photo make certain all exterior and interior lights are on. Shoot 10 to 20 minutes before sunset.

Photography Tips

  • Avoid Shadows - Do not shoot at times when heavy shadows are across the front. Overcast days are okay.
  • Corner Views - Capture full view of house from each front corner. Back up to include large yards.
  • Hero Shot - Always get a Hero shot straight-on front view of the house. Back up to include full structure and portions of the yard and sky.
    Tip: Take many photos from different heights - knee level to as high as you can reach - and choose the best angles later

A few simple outdoor techniques can greatly improve your listing appeal

Back to rooms